Quail Egg Incubation: Step-by-Step Guide
Quail egg incubation can be an exciting and rewarding process, whether you're a hobbyist interested in hatching a few quail for your backyard or a commerci
Quail egg incubation can be an exciting and rewarding process, whether you’re a hobbyist interested in hatching a few quail for your backyard or a commercial quail farmer looking to expand your flock. Successfully incubating quail eggs requires careful attention to detail and adherence to specific guidelines.
In this comprehensive step-by-step guide, we will walk you through the entire process of quail egg incubation, from selecting eggs to caring for the newly hatched chicks.
You may also want to read about the best quail feed.
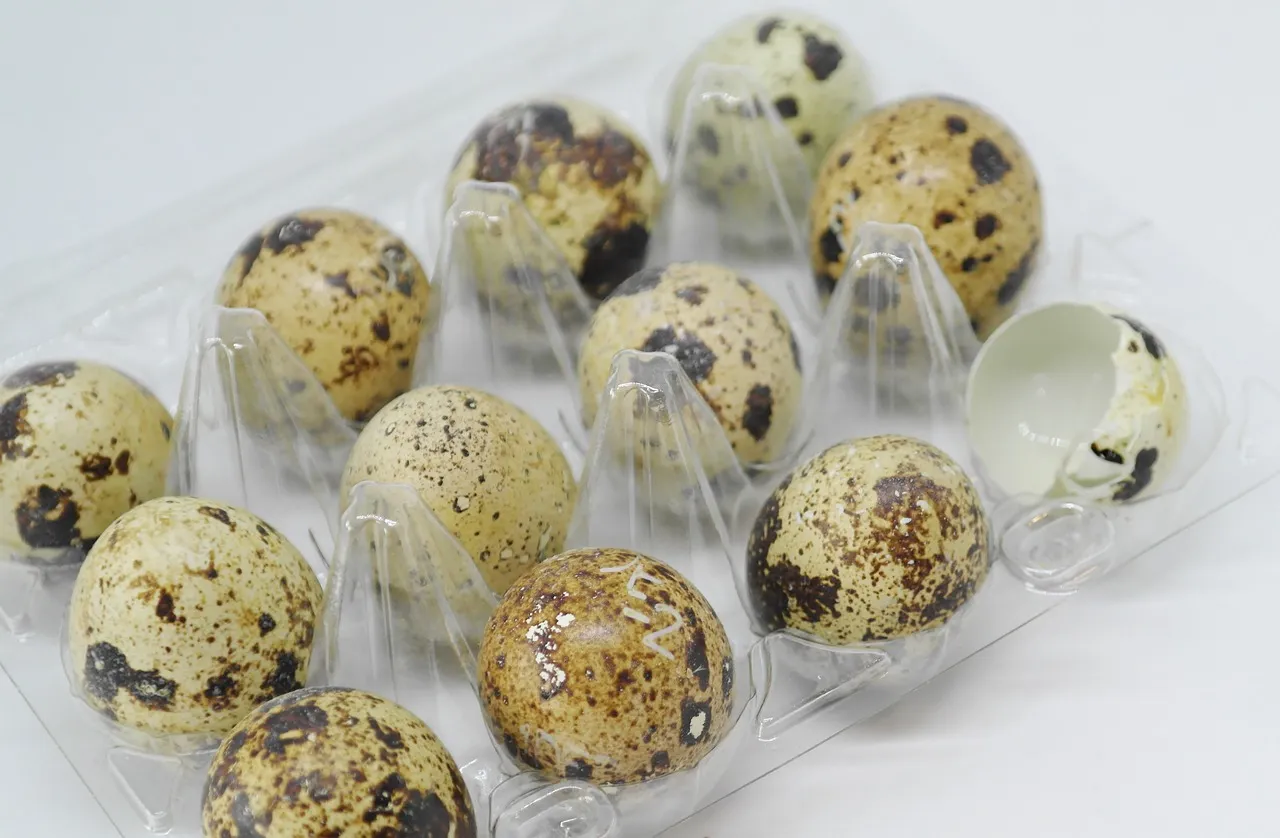
Step 1: Selecting Quail Eggs
The first and crucial step in quail egg incubation is selecting the right eggs. Healthy, fertile eggs are essential for a successful hatch. Here’s how to choose the best quail eggs:
1.1 Choose Healthy Breeding Stock:
Ensure that the quail you intend to breed are healthy and well-cared for. Healthy parent birds are more likely to produce fertile eggs.
1.2 Age of Quail:
Quail typically start laying eggs around 6 to 8 weeks of age. For reliable fertility, use quail that are at least 12 weeks old.
1.3 Egg Collection:
Collect eggs promptly and frequently to prevent them from becoming soiled or damaged. Eggs should be clean, free from cracks, and uniform in size.
1.4 Fertility Check:
You can perform a fertility check by candling the eggs before incubation. Candling involves shining a bright light through the eggs to detect the presence of developing embryos. Discard any eggs that are infertile or show signs of early spoilage.
Step 2: Setting Up the Incubator
Proper setup of the incubator is essential for creating the ideal environment for quail egg incubation:
2.1 Clean the Incubator:
Thoroughly clean and disinfect the incubator, including all trays, racks, and surfaces. This prevents the introduction of bacteria that could harm developing embryos.
2.2 Temperature Control:
Set the incubator to the recommended temperature for quail egg incubation, which is typically around 99.5°F (37.5°C). Use a reliable thermometer to verify and maintain this temperature.
2.3 Humidity Control:
Quail eggs require consistent humidity levels. Initially, maintain humidity at around 50-60% relative humidity (RH). However, during the last three days of incubation, increase humidity to 70-80% RH to assist with hatching.
2.4 Ventilation:
Ensure adequate ventilation to provide a fresh supply of oxygen and remove carbon dioxide. Incubators usually have built-in ventilation systems, but monitor them to ensure they are functioning correctly.
2.5 Egg Turning:
Set up the incubator for automatic egg turning, as quail eggs require regular turning to prevent the embryo from sticking to the shell membrane. Eggs should be turned at least three times a day.
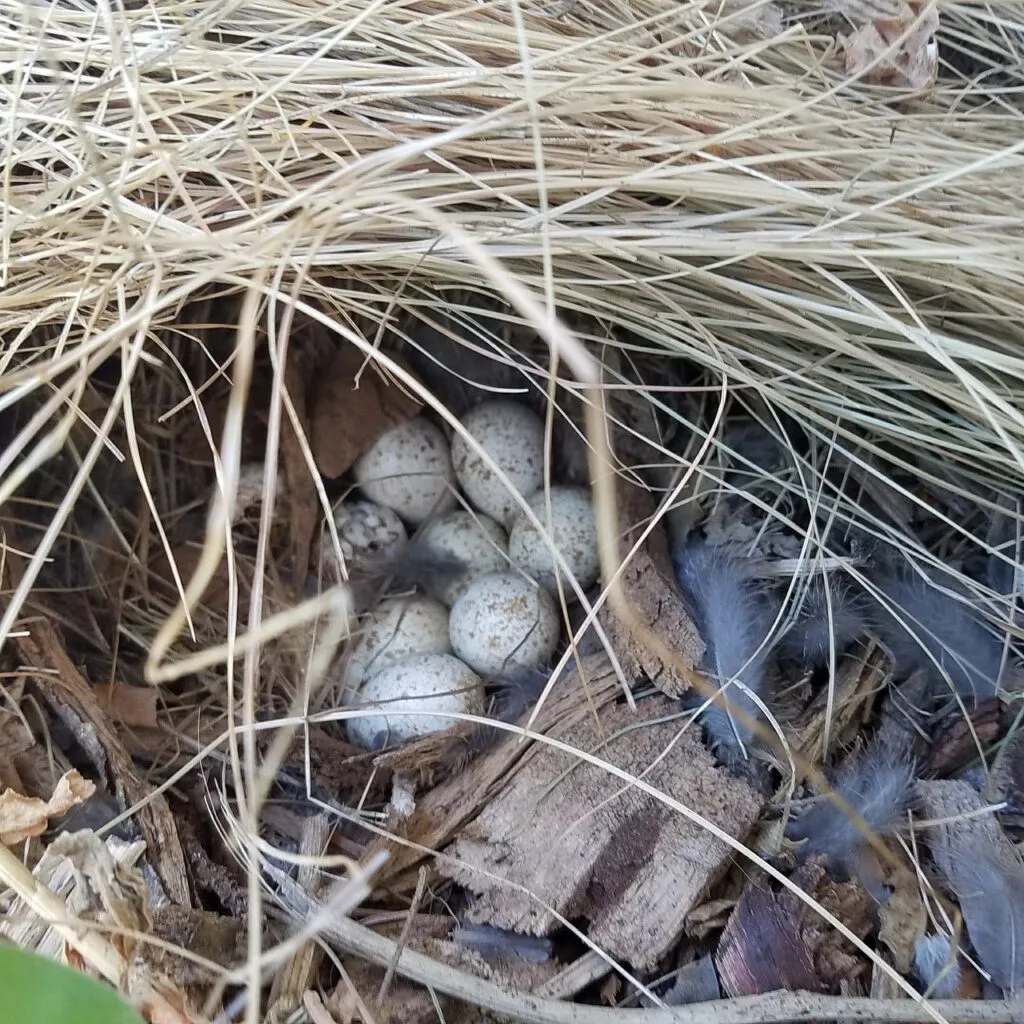
Step 3: Egg Placement
Carefully place the selected quail eggs in the incubator:
3.1 Egg Trays:
Use the designated egg trays or racks in the incubator to hold the eggs. Make sure the eggs are placed with the pointy end down. The pointy end is where the air sac is located, and this positioning helps the embryo develop properly.
3.2 Spacing:
Avoid overcrowding the incubator, as it can hinder air circulation and temperature stability. Leave enough space between eggs for proper heat distribution.
Step 4: Incubation
Now that the eggs are in the incubator, it’s time for the incubation process to begin:
4.1 Maintain Temperature and Humidity:
Continuously monitor and adjust the temperature and humidity levels as needed. Use the incubator’s built-in controls or additional water trays to regulate humidity.
4.2 Egg Turning:
Ensure that the incubator is turning the eggs as programmed. If you’re manually turning the eggs, be consistent with your schedule, turning them at least three times a day.
4.3 Candling:
Around day 7 of incubation, candle the eggs again to check for fertility and embryo development. Discard any eggs that are not developing or show signs of spoilage.
4.4 Record Keeping:
Maintain a detailed record of incubation conditions, including temperature, humidity levels, egg turning schedule, and candling results. This information is valuable for future reference and troubleshooting.
4.5 Avoid Disturbances:
Minimize disturbances to the incubator during incubation. Opening the incubator frequently can disrupt temperature and humidity levels.
Step 5: Preparing for Hatching
As the incubation period comes to an end, it’s time to prepare for hatching:
5.1 Increase Humidity:
During the last three days of incubation (days 14 to 17), increase the humidity in the incubator to 70-80% RH. This higher humidity level helps soften the eggshells and assists the chicks in hatching.
5.2 Stop Turning:
Stop turning the eggs when you notice the embryos moving into the hatching position, which usually happens on day 14.
5.3 Silence and Darkness:
Reduce disturbances and minimize light exposure during the hatching period. Chicks need a calm and dark environment to hatch successfully.
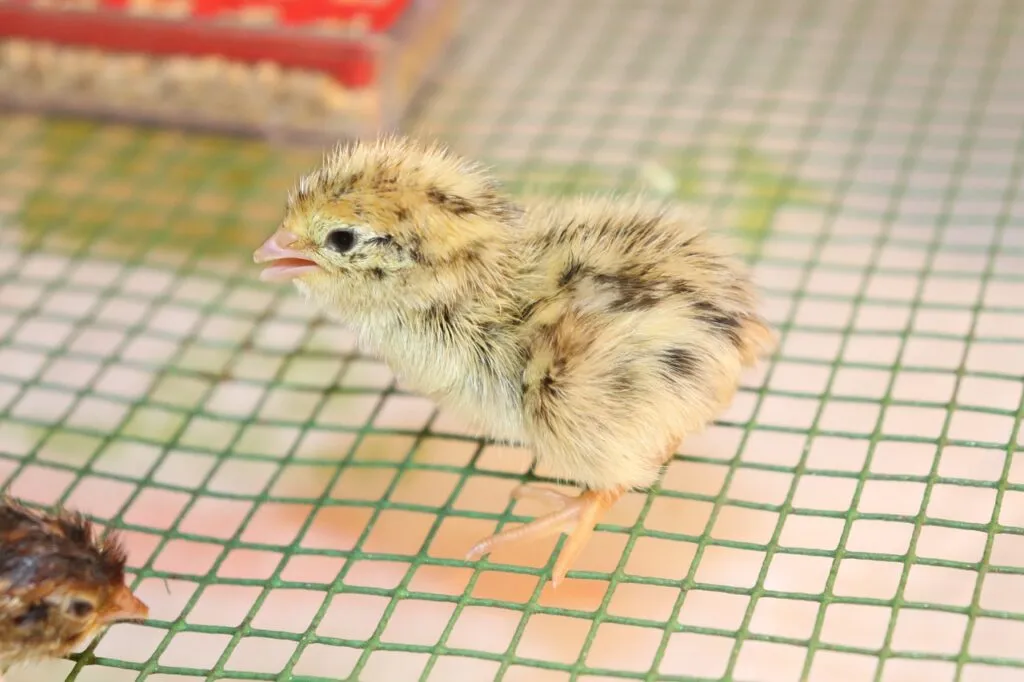
Step 6: Hatching
Hatching is an exciting and critical phase in quail egg incubation. It requires patience and careful observation:
6.1 Wait for Signs of Hatching:
Chicks usually start pipping (breaking through the eggshell) on day 16. Keep a close eye on the eggs for signs of pipping, which include small cracks or sounds of chirping.
6.2 Hands-Off Approach:
Avoid intervening during the hatching process unless absolutely necessary. Chicks need time and effort to hatch independently, and assisting them prematurely can harm their health.
6.3 Hatchling Care:
Once chicks have successfully hatched, leave them in the incubator for a few hours to dry off and gain strength. Then, transfer them to a brooder or a warm, clean, and safe space.
Step 7: Caring for Newly Hatched Quail
Congratulations, you now have freshly hatched quail chicks! Here’s how to care for them:
7.1 Brooder Setup:
Prepare a brooder with proper heating, bedding, and access to clean water and chick feed. Maintain a temperature of around 95-100°F (35-37.8°C) for the first week, gradually decreasing it by 5°F (2.8°C) each week.
7.2 Feed and Water:
Provide quail starter feed specifically formulated for chicks. Ensure that they have constant access to clean, fresh water.
7.3 Observations:
Regularly observe the chicks for signs of health issues or distress. Address any concerns promptly and consult a veterinarian if needed.
7.4 Transition to Adult Quail:
As the chicks grow, transition them to a balanced quail diet suitable for adult quail. Monitor their growth and egg production for optimal results.
Common Challenges in Quail Egg Incubation
While quail egg incubation can be rewarding, it’s essential to be aware of potential challenges:
1. Infertility: Not all eggs will be fertile, so regular candling is necessary to identify and remove infertile eggs.
2. Temperature Fluctuations: Maintaining a consistent temperature is crucial. Rapid temperature fluctuations can harm developing embryos.
3. Humidity Issues: Inconsistent humidity levels can lead to issues like egg shrinkage or difficulty in hatching. Proper monitoring is essential.
4. Disease and Contamination: Contaminated eggs or incubator equipment can introduce diseases to the developing embryos. Thorough cleanliness is vital.
Conclusion
Quail egg incubation is a fascinating and fulfilling endeavor that can lead to a healthy quail flock for both personal enjoyment and potential profit. By following this comprehensive step-by-step guide and being attentive to the needs of your quail eggs and chicks, you can increase your chances of successful quail hatching.
Remember that quail egg incubation requires dedication and patience. Every hatch brings new opportunities to refine your skills and contribute to the thriving world of quail farming and conservation. Enjoy the journey and the joy of watching your quail chicks grow into healthy adults, ready to provide delicious eggs or tender meat.