Building Your Own DIY Incubator: Hatching Success from Scratch
We will walk you through the process of creating a DIY incubator step by step, from selecting materials to maintaining the ideal environment.
Incubators are an essential tool for anyone interested in hatching their own chicken eggs, quail eggs, or even for nurturing reptile eggs. While commercial incubators are readily available, building your own DIY incubator can be a rewarding and cost-effective project. In this comprehensive guide, we will walk you through the process of creating a DIY incubator step by step, from selecting materials to maintaining the ideal environment for successful egg hatching. Let’s embark on this exciting journey to bring new life into the world!
You may also want to read about the best incubator.
Materials and Tools Needed for a DIY Incubator
Before we dive into the construction process, let’s gather all the necessary materials and tools. You’ll need:
Materials:
- A suitable container: You can repurpose an old cooler, wooden box, or any insulated container.
- Thermometer and hygrometer: Essential for monitoring temperature and humidity.
- Heat source: A reliable heat source like a ceramic heat emitter or an incandescent bulb.
- Temperature controller: To maintain a consistent temperature.
- Humidity source: A small dish of water or a humidity tray.
- Fan: To circulate air within the incubator.
- Egg trays or racks: To hold the eggs in place.
- Insulation material: Foam board, fiberglass, or any other insulation to maintain temperature stability.
- Power strip and extension cord: To manage power distribution.

DIY Incubators are Great!
Tools:
- Drill and bits: For creating holes and ventilation.
- Screwdriver or screws: To secure components in place.
- Knife or utility blade: For cutting openings and shaping materials.
- Pliers and wire cutters: To work with wires and connectors.
Now that you’ve gathered your materials and tools, let’s move on to the construction process.
Construction
1. Prepare the Container
The first step is to prepare your chosen container. If you’re using a cooler, ensure it’s clean and free from any odors that might affect the incubation process. If you’re using a wooden box, make sure it’s well-sealed to prevent heat and moisture from escaping.
2. Cut Openings
Using a knife or utility blade, cut openings for the thermometer and hygrometer to be placed on the inside of the container. Additionally, create a hole for the power cord of your heat source to pass through. Make sure these openings are sealed around the edges to maintain insulation.
3. Install the Heat Source
Place your chosen heat source inside the incubator. If you’re using an incandescent bulb, make sure it’s secured in a way that prevents direct contact with any flammable materials. A ceramic heat emitter can be a safer alternative.
4. Attach the Temperature Controller
Connect your temperature controller to the heat source and the power source outside the incubator. Set the desired temperature on the controller, which will regulate the heat source to maintain a consistent temperature within the incubator.
5. Add a Fan
To ensure even distribution of heat and humidity, install a small fan inside the incubator. This will prevent temperature variations and ensure that all eggs receive adequate warmth.
6. Create Egg Trays
Depending on the size and shape of your container, design egg trays or racks to hold the eggs securely in place. These trays should allow enough space for air circulation around each egg.
7. Install Humidity Source
Place a small dish of water or a humidity tray inside the incubator to maintain the required humidity levels. Monitor and adjust the water as needed to ensure optimal conditions for egg incubation.
8. Insulate the Incubator
Use insulation material (such as foam board or fiberglass) to line the interior of the incubator. This helps maintain a stable temperature and prevents heat loss.
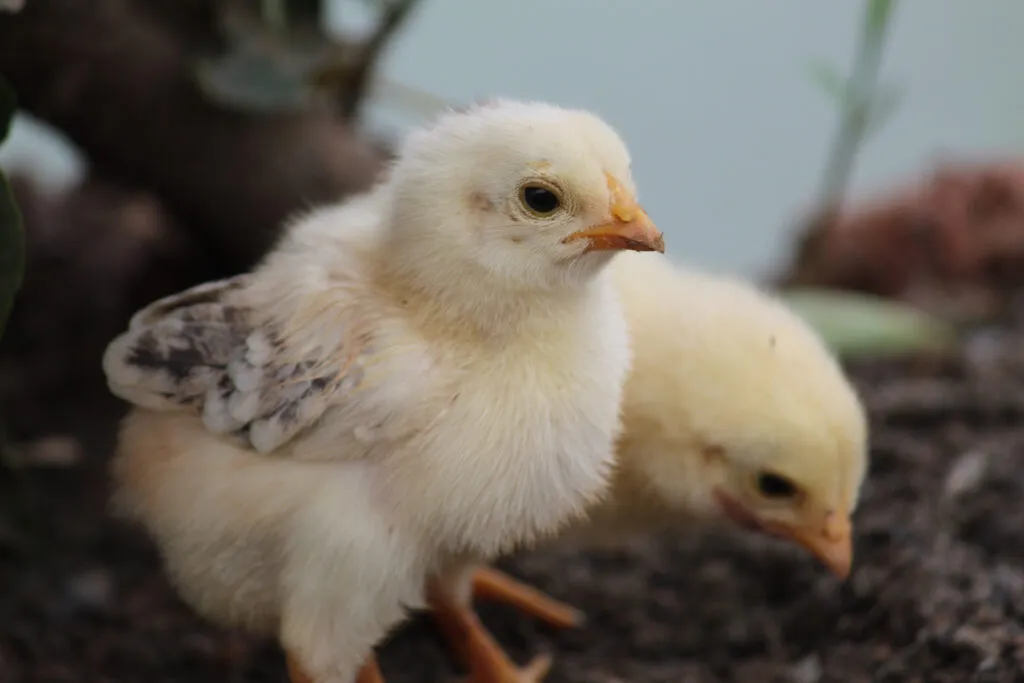
A closeup shot of cute yellow chicks on the farm.
9. Ventilation Holes
Drill small ventilation holes near the top of the incubator to allow for proper air exchange. Ensure these holes are small enough to prevent significant heat loss.
10. Test Run
Before placing your eggs in the incubator, run a test to ensure that the temperature and humidity levels remain stable within the desired range. Make any necessary adjustments to the temperature controller or humidity source.
Egg Incubation
Now that your DIY incubator is ready, it’s time to begin the egg incubation process.
1. Choose Fertile Eggs
Select fresh and fertile eggs from healthy breeding stock. Ensure that the eggs are clean and free from cracks or defects.
2. Set Up Egg Trays
Place the fertile eggs in the egg trays or racks inside the incubator. Make sure to label each tray with the date of placement and the type of eggs to track their progress.
3. Maintain Ideal Conditions
Monitor the temperature and humidity levels inside the incubator regularly. The ideal temperature for most poultry eggs is around 99.5°F (37.5°C), with humidity levels between 45% and 55%. Be prepared to make minor adjustments as necessary.
4. Turn the Eggs
Eggs should be turned regularly to prevent the embryos from sticking to the eggshells. You can manually turn them several times a day or use an automatic egg turner if available.
5. Candle the Eggs
After a few days of incubation, use a candling device to check the development of the embryos. Candling involves shining a bright light through the egg to observe the internal structures. Remove any eggs that appear infertile or show signs of spoilage.
6. Prepare for Hatching
As the incubation period nears completion, create a separate area within the incubator for the hatching process. This area should provide increased humidity to facilitate the hatching process.
7. Wait for Hatching
Hatching can take some time, depending on the type of eggs and incubation conditions. Be patient and avoid opening the incubator unnecessarily, as this can disrupt the hatching process.
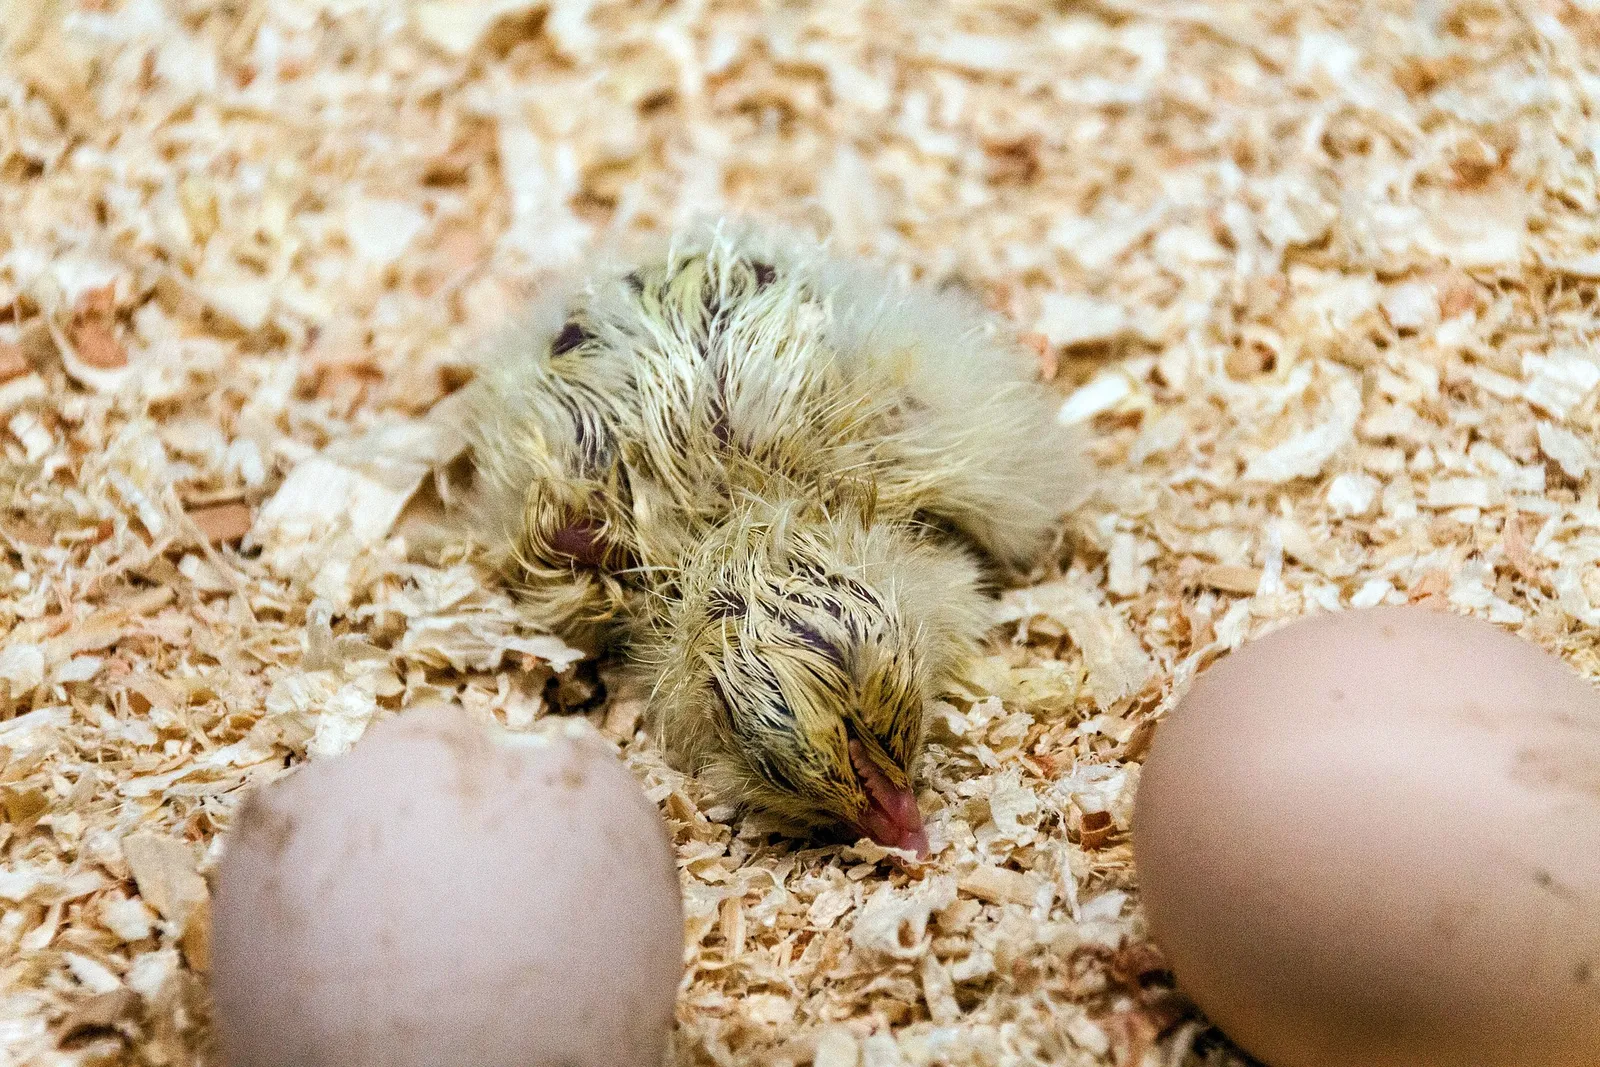
8. Welcome New Life
Once the eggs have hatched, allow the chicks or hatchlings to dry and rest in the incubator for a few hours before transferring them to a suitable brooder.
Maintenance and Troubleshooting
To ensure the success of your DIY incubator, it’s essential to perform regular maintenance and address any issues that may arise.
Maintenance Tips:
- Clean the incubator between hatching cycles to prevent the buildup of bacteria.
- Calibrate your thermometer and hygrometer regularly to ensure accurate readings.
- Check the temperature and humidity levels daily and make adjustments as needed.
- Keep a record of temperature and humidity readings, as well as the number of days in incubation, for future reference.
Troubleshooting Common Issues:
- Temperature Fluctuations: If the temperature inside the incubator fluctuates too much, check the insulation, heat source, and temperature controller for issues.
- Low Humidity: If humidity levels are consistently low, consider adding a larger water source or increasing the surface area of the water in the humidity tray.
- High Humidity: Conversely, if humidity levels are too high, reduce the water source or increase ventilation to lower humidity.
- Egg Turning Problems: Ensure that the eggs are turned regularly, and if using an automatic turner, make sure it’s functioning correctly.
Conclusion
Building your own DIY incubator is a rewarding endeavor that allows you to witness the miracle of life firsthand. With the right materials, tools, and careful attention to detail, you can create a controlled environment where eggs can develop into healthy hatchlings. Whether you’re interested in raising poultry or hatching reptile eggs, this DIY project opens up a world of possibilities for nurturing and caring for new life. So, roll up your sleeves, gather your supplies, and embark on the exciting journey of incubating eggs in your homemade incubator. Who knows, you might just become a master egg hatcher in no time!