Maintaining Proper Incubator Humidity: A Key Factor in Successful Egg Hatching
We will explore the importance of incubator humidity, its impact on hatch rates, and how to maintain optimal humidity levels for a successful hatch.
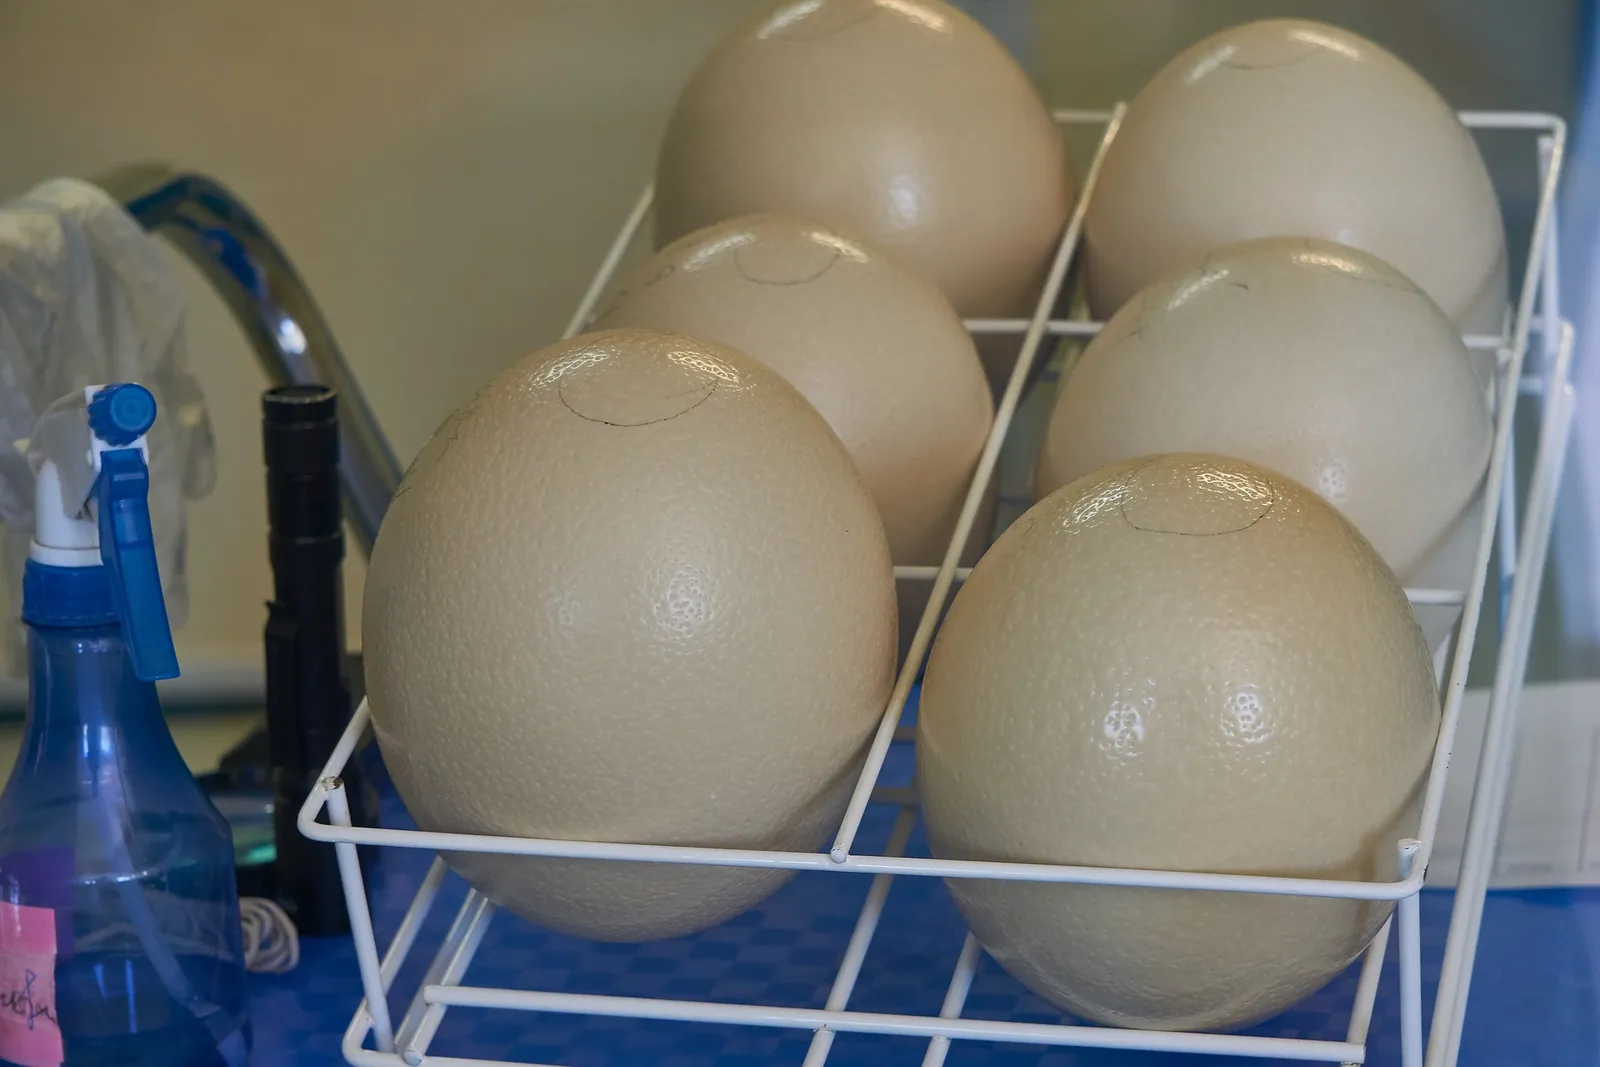
Incubating eggs is a fascinating and rewarding experience, whether you’re a backyard enthusiast or a commercial hatchery operator. However, successful egg incubation relies on various factors, with humidity being one of the most critical. Proper incubator humidity control throughout the incubation process is essential for the healthy development of the embryo inside the egg.
In this comprehensive guide, we will explore the importance of incubator humidity, its impact on hatch rates, and how to maintain optimal humidity levels for a successful hatch.
You may also want to read about the best incubator.
The Role of Humidity in Incubation
Humidity plays a pivotal role in egg incubation, primarily influencing two crucial aspects of embryo development: moisture loss and air cell size.
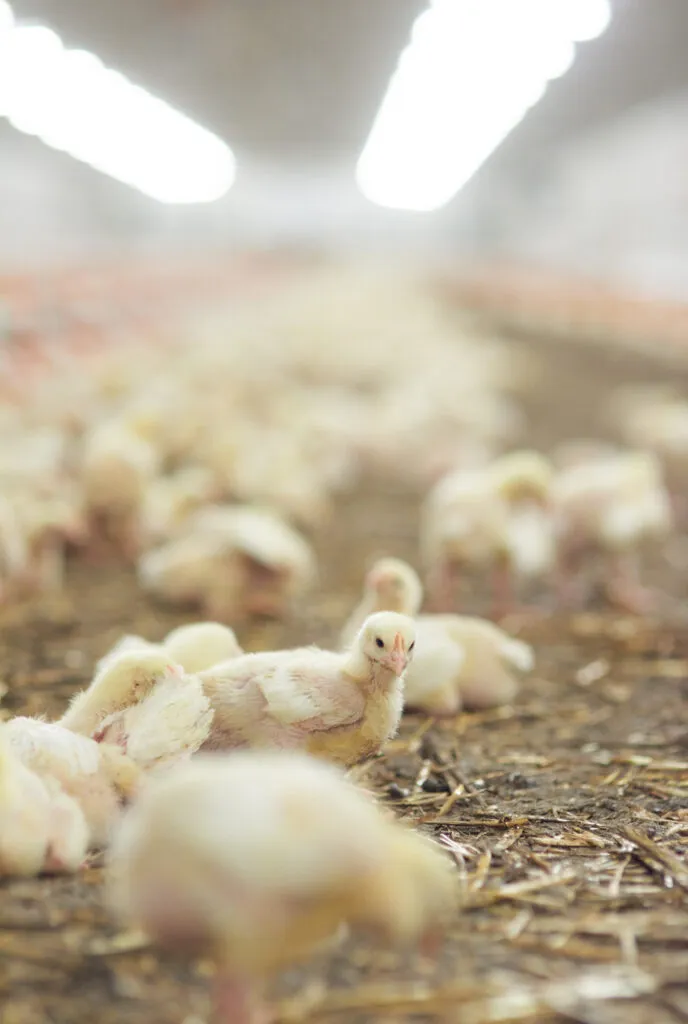
Small chickens in the chicken coop.
Moisture Loss
During incubation, eggs naturally lose moisture through their porous shells. Maintaining proper humidity levels within the incubator is essential to counteract this loss. Without adequate humidity, excessive moisture loss can lead to several issues, including:
- Dehydration of the developing embryo, which can result in chick deformities or death.
- Difficulty in hatching due to a dry, sticky membrane that sticks to the chick.
- Reduced hatch rates and compromised chick health.
Air Cell Size
Proper humidity levels also affect the size of the air cell within the egg. The air cell is essential for the chick’s respiration during the final stages of incubation. If the air cell is too large or too small, it can lead to difficulties during the hatching process.
- A too-small air cell can result in the chick drowning in excess fluids during hatching.
- A too-large air cell can make it challenging for the chick to pip (break through the shell) and hatch successfully.
Recommended Incubator Humidity Levels
The recommended humidity levels for egg incubation can vary depending on the species of birds you are hatching. Generally, humidity is measured as a percentage relative to the wet bulb temperature. Here are some common guidelines:
Chicken Eggs
- Days 1-18: Maintain a relative humidity of approximately 45-50%.
- Days 19-21 (lockdown): Increase humidity to around 65-75% to help the chicks hatch successfully.
Duck Eggs
- Days 1-25: Maintain a relative humidity of approximately 55-60%.
- Days 26-28 (lockdown): Increase humidity to around 70-75% for hatching.
It’s important to note that these are general guidelines, and you may need to make adjustments based on factors like your specific incubator model, local climate, and the age and condition of your eggs.
Monitoring Humidity
To ensure proper humidity levels in your incubator, it’s crucial to monitor and control humidity effectively. Here’s how to do it:
1. Use a Hygrometer
Invest in a reliable hygrometer to measure the relative humidity inside your incubator accurately. Place the hygrometer at egg level for the most accurate readings.
2. Adjust Ventilation
Ventilation is closely linked to humidity control. Proper airflow helps prevent condensation and mold growth inside the incubator. Ensure your incubator has adjustable vents, and follow the manufacturer’s recommendations for vent settings.
3. Water Reservoirs
Most modern incubators have water reservoirs or channels designed to add moisture to the incubator. You can adjust the water level to increase or decrease humidity as needed. Monitor these reservoirs regularly to ensure they don’t run dry.
4. Wet Bulb Thermometer
Consider using a wet bulb thermometer, which measures the temperature while taking into account the humidity. This can provide a more accurate reading of the environment inside the incubator.
5. Add Water Gradually
When increasing humidity during lockdown (the final days of incubation), add water gradually to avoid sudden spikes in humidity levels, which can be stressful for developing embryos.
Humidity Troubleshooting
Sometimes, despite your best efforts, humidity levels may not stay within the desired range. Here’s how to address common humidity-related issues:
1. Low Humidity
If humidity is too low, consider these steps:
- Add water to the incubator’s water reservoirs or channels.
- Increase ventilation slightly to help moisture evaporate more slowly.
- Place a damp sponge or cloth inside the incubator to raise humidity levels.
2. High Humidity
If humidity is too high, you can try the following:
- Increase ventilation by opening vents wider.
- Reduce water in the incubator’s water reservoirs.
- Use a dehumidifier or a towel to absorb excess moisture.
Conclusion
Mastering incubator humidity is a crucial skill for successful egg hatching. By understanding the role of humidity in embryo development, monitoring humidity levels, and making necessary adjustments, you can increase your hatch rates and ensure the health and vitality of the chicks that hatch. Remember that each species of bird may have slightly different humidity requirements, so it’s essential to do your research and consult specific guidelines for the type of eggs you are incubating. With proper humidity control, you’ll be well on your way to becoming a successful hatchery operator or a satisfied backyard poultry enthusiast. Happy hatching!